Planting Bulbs in Fall: Your Guide to a Beautiful Spring Garden
Fall is the perfect time to plan ahead for the vibrant beauty of spring. While the weather is cooling down and the growing season is winding down, gardeners have a unique opportunity to prepare their gardens for the following year. One of the easiest and most rewarding ways to ensure a stunning spring garden is by planting bulbs in the fall.
Planting bulbs in fall provides the groundwork for springtime blooms that will light up your landscape with an array of colors, textures, and shapes. From tulips and daffodils to crocuses and lilies, there’s a bulb for every garden style and climate. In this guide, we’ll walk you through everything you need to know to successfully plant bulbs this fall, so you can enjoy a gorgeous garden come spring.
Why Plant Bulbs in Fall?
Bulbs are an excellent investment for any garden, and planting them in fall ensures they have the right conditions to thrive when spring arrives. Here’s why fall is the optimal time to plant:
1. Root Development
While the top of the bulb remains dormant during the winter, the roots are busy growing deep into the soil. This underground activity is essential for the bulb’s survival and ensures it has a solid foundation when it begins to sprout in the spring. Planting in fall gives the bulbs time to establish their roots before the cold winter sets in.
2. Chilling Requirements
Many bulbs, like tulips and hyacinths, require a period of cold dormancy to trigger their blooming process. Fall planting allows bulbs to experience the cold temperatures they need to thrive. After they’ve undergone this chilling period, they’ll be ready to bloom as soon as the weather warms up.
3. Better Selection of Bulbs
In the fall, garden centers and nurseries typically have a wide variety of bulbs available. Shopping in fall gives you access to the freshest selection, allowing you to choose the best bulbs for your garden’s aesthetic and growing conditions. Additionally, planting early in the fall allows you to enjoy early-blooming varieties come spring.
Choosing the Right Bulbs for Your Garden
Selecting the right bulbs is crucial for achieving a successful spring garden. The bulbs you choose should be appropriate for your climate, soil type, and personal preferences. Here are some popular spring-blooming bulbs and tips on choosing them:
1. Tulips
Tulips are classic spring flowers known for their vibrant colors and elegant shapes. They come in a wide range of hues, from soft pastels to bold, saturated colors. Choose tulips that are suited to your climate—some varieties thrive in colder regions, while others do better in milder climates.
2. Daffodils
Daffodils, also known as narcissus, are one of the easiest and most reliable bulbs to grow. They’re known for their cheerful yellow flowers, although they also come in white, orange, and pink varieties. Daffodils are hardy and naturalize well, meaning they’ll return year after year.
3. Crocuses
Crocuses are some of the first flowers to bloom in the spring, often emerging when there’s still snow on the ground. These petite flowers come in purple, white, yellow, and striped varieties and are perfect for adding early color to your garden.
4. Hyacinths
Hyacinths are prized for their fragrant, bell-shaped flowers. These bulbs produce dense clusters of flowers in colors like pink, white, purple, and blue. Hyacinths are great for adding scent and a pop of color to your garden beds, containers, or even indoor spaces.
5. Alliums
Alliums, or ornamental onions, are tall, striking flowers with globe-like clusters of tiny blooms. These bulbs add a unique texture and structure to your garden. Alliums bloom later in the spring and summer, making them a great addition to extend the flowering season.
6. Lilies
Lilies are another stunning addition to any spring garden. While some varieties bloom in summer, certain early-blooming species can be planted in the fall and will bloom as soon as the weather warms. Lilies come in a variety of colors and shapes, from delicate pastels to bold reds and oranges.
How to Plant Bulbs in Fall: Step-by-Step Guide
Now that you’ve selected your bulbs, it’s time to plant them. Follow these simple steps to ensure your bulbs are set up for success:
1. Choose the Right Location
Most spring-blooming bulbs prefer full sun, so select a planting site that gets at least 6 hours of direct sunlight per day. Bulbs generally prefer well-drained soil, so avoid areas that tend to stay wet in the winter. Raised beds or slightly sloped areas are ideal for ensuring proper drainage.
2. Prepare the Soil
Before planting, prepare the soil by loosening it with a shovel or garden fork to a depth of about 6-8 inches. If your soil is heavy clay, amend it with compost or other organic matter to improve drainage. For sandy soils, you may need to add some organic matter to help retain moisture.
3. Planting Depth and Spacing
The general rule of thumb for planting bulbs is to plant them at a depth that is about 2-3 times the height of the bulb. For example, if a bulb is 2 inches tall, plant it 4-6 inches deep. Space the bulbs about 2-3 inches apart to allow them room to grow without crowding each other. If planting multiple rows, space the rows about 4-6 inches apart.
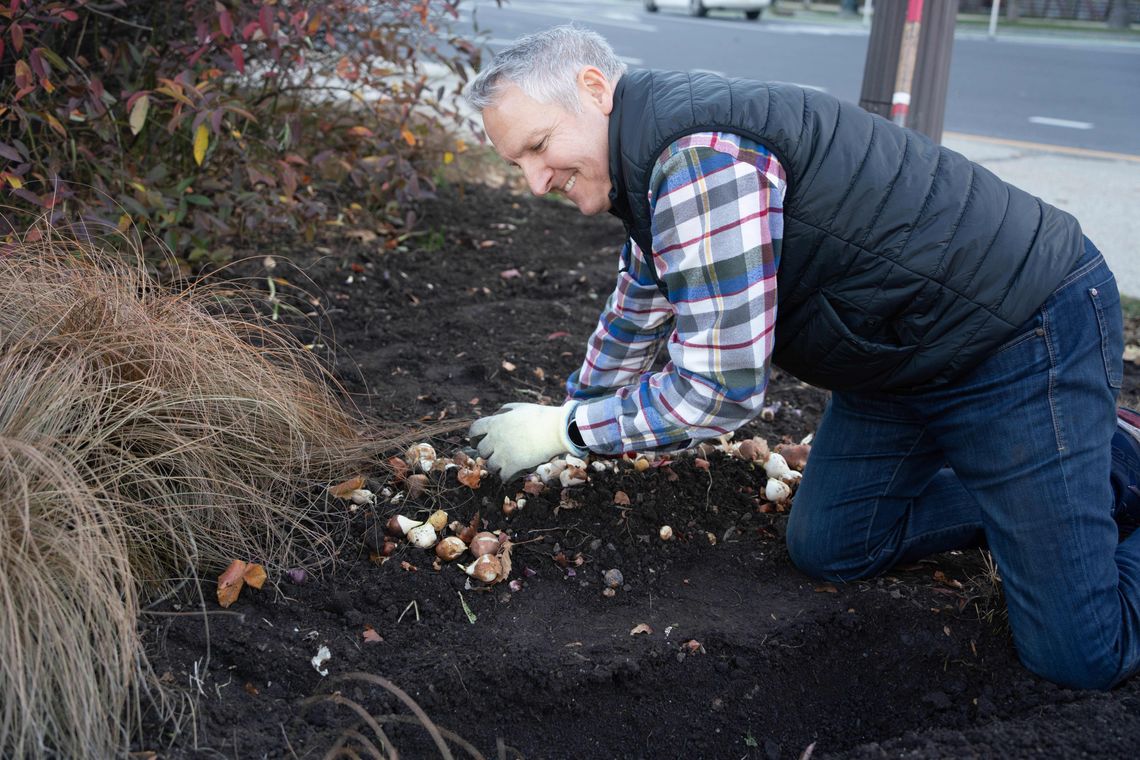
4. Place the Bulbs
Place each bulb with the pointed end facing upward (this is typically the top of the bulb). If you’re unsure, look for the flatter end of the bulb, which is usually where the roots will grow from. Gently cover the bulb with soil and press down lightly to ensure good contact between the bulb and the soil.
5. Watering
After planting, water the bulbs thoroughly to help settle the soil and kickstart root development. However, be careful not to overwater. Bulbs don’t like to sit in soggy soil, so ensure the soil drains well. As winter sets in, you likely won’t need to water again, but if the fall is unusually dry, check the soil occasionally to keep it moist.
6. Mulching
Once your bulbs are planted, apply a layer of mulch to help insulate them during the winter months. Mulch helps retain moisture, keeps the soil temperature stable, and prevents frost heaving (when the ground freezes and thaws, which can cause bulbs to shift out of the soil). Use 2-3 inches of mulch, such as shredded leaves, straw, or bark.
Caring for Fall-Planted Bulbs
After planting your bulbs, there’s very little maintenance required until spring. Here are a few tips to ensure your bulbs stay healthy and thrive:
1. Protect from Frost
In areas with harsh winters, it’s important to protect your bulbs from extreme frost. While a layer of mulch usually provides sufficient protection, you can also cover bulbs with burlap or a frost cloth if particularly cold weather is expected.
2. Avoid Digging Up the Soil
Once bulbs are planted, resist the urge to dig up the soil or disturb the bulbs. They need to remain undisturbed to develop properly over the winter months. If you’re planting perennials or other plants around the bulbs, make sure to space them carefully so they won’t disturb the bulb’s root system.
3. Monitor for Pests
Although bulbs are generally resistant to pests, it’s important to monitor for rodents like squirrels and voles, which may be attracted to the bulbs. If you notice any signs of digging or damage, consider using mesh netting or plant-based deterrents.
Conclusion: Planting Bulbs in Fall for a Beautiful Spring
Planting bulbs in the fall is one of the simplest and most rewarding gardening tasks you can do to prepare for spring. By choosing the right bulbs, planting them properly, and providing them with a little care over the winter months, you’ll be rewarded with an array of colorful and fragrant blooms that brighten your garden and your mood. So grab your trowel, get outside, and start planting—spring is just around the corner!