Soil Health Checkup: Testing and Tuning Before the Thaw Arrives
As winter loosens its grip and spring waits just over the horizon, there’s one task that often separates thriving homesteads and productive farms from those that struggle to catch up — a pre-thaw soil health checkup. Before the ground warms and seeds hit the dirt, taking time to test and fine-tune your soil can make all the difference in yield, pasture performance, and long-term fertility.
This isn’t just busywork for gardeners or ranchers looking to stay active in the off-season. It’s a strategic move — one that ensures every pound of fertilizer, every drop of water, and every hour of work pays off in the growing months ahead. Let’s break down how to properly assess, interpret, and improve your soil before the thaw arrives.
1. Why Soil Testing Matters Before Spring
Winter has a way of masking underlying issues. Snow cover, frost heave, and dormant plant life make it easy to overlook what’s happening beneath the surface. But as the ground thaws, nutrients start moving — and if your soil isn’t balanced, you’ll lose fertility before your crops or forage even begin to use it.
Early soil testing gives you time to:
- Identify nutrient deficiencies or toxicities (especially nitrogen, phosphorus, and potassium).
- Check pH levels to ensure optimal nutrient availability.
- Evaluate organic matter content and microbial activity.
- Plan your amendment strategy (lime, compost, manure, etc.) before planting season kicks off.
Testing now means you’re not guessing later.
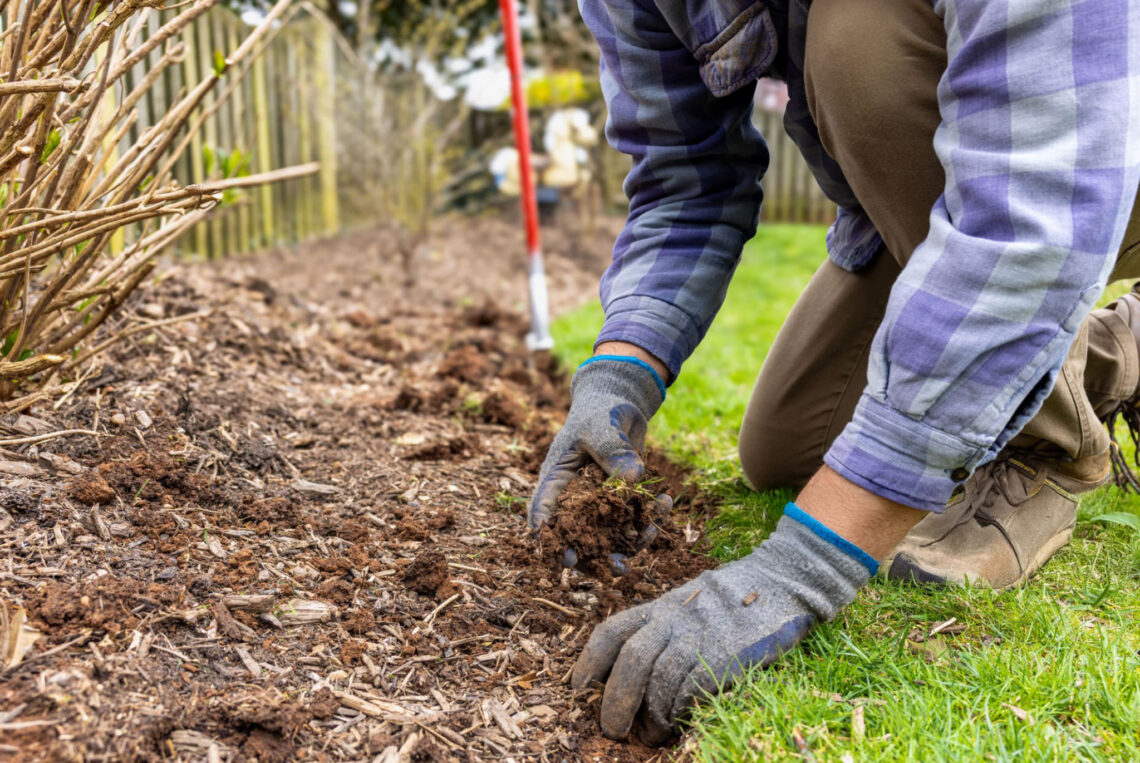
2. How to Take Accurate Soil Samples
A good soil test starts with a good sample. Poor sampling can mislead you and waste money on unnecessary amendments.
Here’s a quick checklist for getting it right:
- Wait for a mild day. The soil should be thawed enough to dig a clean sample, but not saturated with meltwater.
- Use a clean probe or trowel. Avoid rusted tools that could skew micronutrient readings.
- Sample 6 to 8 inches deep for garden and crop fields, or 4 inches for pasture.
- Take multiple cores (10–15) across the area and mix them in a clean bucket.
- Label your samples clearly — especially if you’re testing multiple fields or garden sections.
Once collected, send them to a certified agricultural lab rather than relying on quick home kits. Labs can measure everything from micronutrients like zinc and copper to CEC (cation exchange capacity), giving you a clearer picture of your soil’s “bank account” of fertility.
3. Reading and Interpreting Your Soil Report
When your test results come back, they can look intimidating — a mix of numbers, acronyms, and ratios. But each value tells a story:
- pH (6.0–7.0) is the sweet spot for most crops. Acidic soils (below 6.0) limit nutrient uptake; alkaline soils (above 7.5) can tie up phosphorus.
- Nitrogen (N): Drives early growth but leaches quickly. Plan split applications or use cover crops to retain it.
- Phosphorus (P): Promotes root and flower development. Often needs correction if soil tests low.
- Potassium (K): Critical for stress resistance and disease prevention.
- Organic Matter (OM): Anything above 4% is excellent. It improves structure, moisture retention, and microbial activity.
If your test shows imbalances, use this time before the thaw to plan targeted amendments — lime for pH correction, compost for organic matter, or a balanced NPK fertilizer to cover deficiencies.
4. Adjusting and Amending Before the Thaw
Winter and early spring are perfect for making soil corrections that need time to settle. Here’s what to focus on:
- Apply Lime or Gypsum Early: These need moisture and time to react. Applying before snowmelt ensures even distribution.
- Topdress Compost or Manure: Microbial activity will restart as temperatures rise, helping organic material break down gradually.
- Avoid Heavy Equipment: Frozen or thawing ground compacts easily. Stick to light spreading or manual work.
- Plan for Drainage: Use this downtime to repair erosion channels or install small diversions to prevent spring runoff.
Every amendment now saves effort later. By the time you’re ready to plant, your soil will already be in motion — balanced, enriched, and ready to perform.
5. The Long View: Building Year-Round Soil Health
A single soil test isn’t the end of the story. The healthiest soils are those managed with long-term consistency — regular testing, mindful amendment use, and protection from erosion and compaction.
Here are a few year-round practices that keep your soil thriving:
- Cover crops: Keep living roots in the soil year-round to prevent nutrient loss.
- Rotational grazing: Reduce compaction and promote even manure distribution on pastures.
- Reduced tillage: Preserve soil structure and microbial life.
- Mulching and composting: Boost organic matter naturally.
Healthy soil is alive — a living system that rewards every ounce of care you invest.
Final Thoughts
Before the thaw arrives, give your soil the same attention you give your livestock or machinery. A winter soil health checkup isn’t just good maintenance; it’s a growth strategy. By testing, tuning, and planning early, you ensure that every spring seed has a strong, fertile foundation to grow from.
When the frost fades and life begins to stir, you’ll already be ahead — your soil balanced, your plan set, and your season primed for success.


You May Also Like

Heat-Tolerant Gardening: How to Build a Resilient Summer Growing System
Mulch Like a Pro: Insulating Roots and Suppressing Weeds This Fall