Low-Temp Calving Prep: Setting Up Warm Zones Before a Surprise Birth
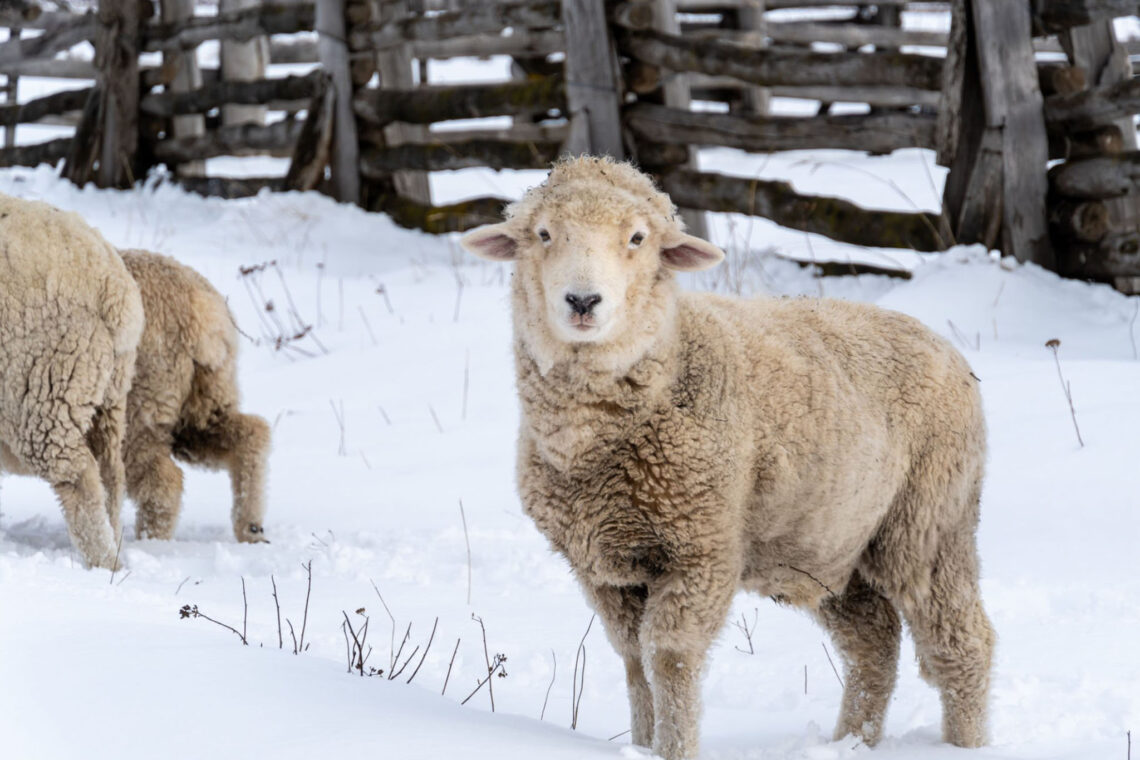
Winter calving can test even the most seasoned rancher. When temperatures dip below freezing and wind chill drives conditions into the danger zone, a surprise calving event can turn from routine to life-threatening in minutes. Newborn calves lose heat rapidly, and a cow struggling through labor in frozen conditions burns precious energy she needs for recovery.
That’s why preparing warm zones before calving season begins—or before the next cold front hits—is one of the smartest, most cost-efficient winter strategies a rancher can make. This guide breaks down exactly how to build them, where to place them, and how to maintain them through unpredictable winter weather.
Why Low Temps Turn Calving Into an Emergency
A calf’s first 30 minutes of life are critical. In cold weather, hypothermia is the biggest risk—not disease, not malpresentation, not even predators.
Newborn calves are especially vulnerable because:
- They have limited fat reserves, especially beef calves born early.
- They exit the birth canal wet and heat-draining, losing body heat 4× faster than a dry calf.
- Wind, damp bedding, and cold metal panels speed heat loss dramatically.
- A stressed cow may delay licking the calf dry, increasing exposure time.
Preparing warm zones eliminates these hazards before they become a crisis.
Where to Build Your Warm Zones
Warm zones should be close enough for a cow to calve naturally but protected enough to shield the newborn from the worst winter conditions. Here are the three best locations:
1. Inside a Draft-Free Barn (With Controlled Ventilation)
The classic setup. But not all barns are equal in winter.
What a Proper Barn Warm Zone Needs
✔ Straw bedding at least 6–8 inches deep
Acts like insulation and wicks moisture away from the calf.
✔ Minimal drafts at ground level
The lowest two feet are the danger zone for cold airflow.
✔ One high vent point
Prevents condensation and ammonia buildup without cooling the newborn.
✔ Heat from passive sources
South-facing windows, black barrels with water, or insulated walls make a big difference.
Avoid:
Rubber mats alone—great for traction, terrible for warmth unless topped with deep bedding.
2. A Protected Outdoor Calving Shed
Perfect for ranchers without a full barn or those running large herds.
Essential Winterization Upgrades
- Windbreak walls on the north and west sides
- Tin or OSB skirting to block wind entering below panels
- One-way flap or canvas tarp door facing south
- Straw or peat moss bedding instead of shavings (shavings freeze faster)
Outdoor calving sheds work exceptionally well in the Great Plains, Midwest, and Mountain West where winds are brutal but humidity stays lower.
3. Emergency “Pop-Up” Warm Zones for Surprise Births
Sometimes calving doesn’t wait for the perfect moment. For cows that drop calves in open pasture or far from the barn, you’ll want lightweight structures you can move quickly.
Fast Warm Zone Options
✔ Portable windbreak panels + temporary tarp roof
Creates an instant pocket of still air.
✔ Calf warming hut (DIY or store-bought)
A small insulated dome with a vent—fantastic for saving weak calves.
✔ Stock trailer with bedding
One of the best emergency shelters on a windy night—cleanable, confined, and warm.
Key Components Every Warm Zone Must Have
1. Deep, DRY Bedding
Moisture is the enemy. Wet bedding will chill a newborn calf in seconds.
Best bedding options:
- Straw (top choice for warmth)
- Peat moss (excellent moisture control)
- Corn stalks
- Wood chips (only if topped with straw to reduce freezing)
Aim for 6–10 inches, more during wet snow cycles.
2. Wind Chill Protection
Even if the air temperature is 25°F, a 20 mph wind can create conditions equivalent to 10°F—or lower.
Wind protection checklist
- Solid north/west wall
- Zero gaps at ground level
- Double-layer tarp if needed
- No metal directly touching calf (metal steals heat)
3. Safe Heat Sources (Optional but Powerful)
For ranchers in the Dakotas, Montana, Wyoming, Minnesota, and northern states, safe supplemental heat can be lifesaving.
Approved heat sources
✔ Heat lamps in wire guards (hung high, never near straw)
✔ Calf warmers/warming boxes
✔ Radiant heaters mounted overhead
✔ Propane heaters with constant supervision
Heat should warm the space, not blow directly onto the cow.
4. Easy Cow Access
A cow calving in difficult conditions needs a clear path to enter the shelter. Otherwise, she may drop her calf outside.
Make sure your warm zone includes:
- A 12–16 ft opening for larger breeds
- Non-slip footing at the entrance
- No narrow choke points
- No flapping tarps that may scare skittish heifers
Preparing for Surprise Births: The Most Important Part
Winter calving rarely sticks to a neat schedule. You want your warm zone ready before the cold snap hits.
Winter Pre-Calving Checklist
1. Stockpile bedding
At least 2–3 round bales of straw per 10 cows.
2. Pre-check all gates, latches, and pen panels
Cold metal breaks, bends, and freezes.
3. Keep a “calving grab-and-go kit” ready
Include:
- Towels
- OB chains
- Lubricant
- Gloves
- Colostrum replacer
- Ear tags
- Thermometer
4. Pre-plan your “night calving” lighting
Solar barn lights or rechargeable work lamps make a huge difference.
5. Have a backup warm zone
Many ranchers lose calves because their primary shelter fills faster than expected.
The First 30 Minutes: Why Warm Zones Matter Most
A newborn calf’s temperature can drop from 102°F to below 95°F within 15 minutes in freezing conditions. Hypothermia sets in fast, and survival rates drop sharply.
A good warm zone:
- Helps the cow finish licking the calf dry
- Keeps the calf’s lungs clear
- Lets the calf stand and nurse faster
- Ensures colostrum absorption happens before the cold drains energy
And that single first nursing session sets the foundation for immunity, growth, and survival for the entire season.
Final Thoughts: Winter Calving Doesn’t Have to Be Risky
With the right warm zones prepared in advance, you can dramatically improve calf survival—even when temperatures fall below zero and storms roll in unexpectedly.
You’ll protect:
- Your calves
- Your cows’ health
- Your feed budget
- Your operation’s long-term productivity
Warm zones are one of the most cost-effective winter investments a rancher can make—and one of the easiest to build before the season turns harsh.


You May Also Like

Fall Garden Gold: Cool-Season Crops Every Homesteader Should Plant
Why Cattle Gain Faster in Spring Than Any Other Time of Year
